
Last updated October 30, 2026
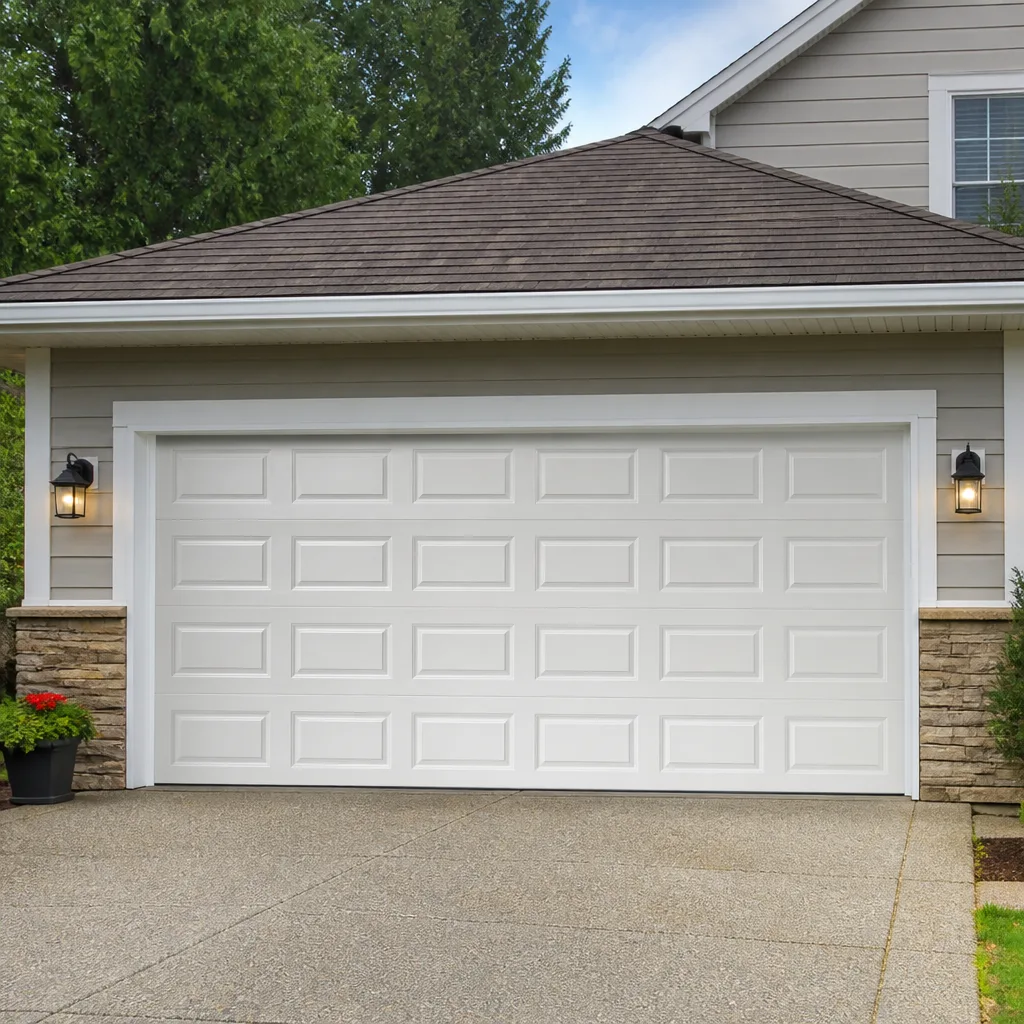 Raised-panel steel
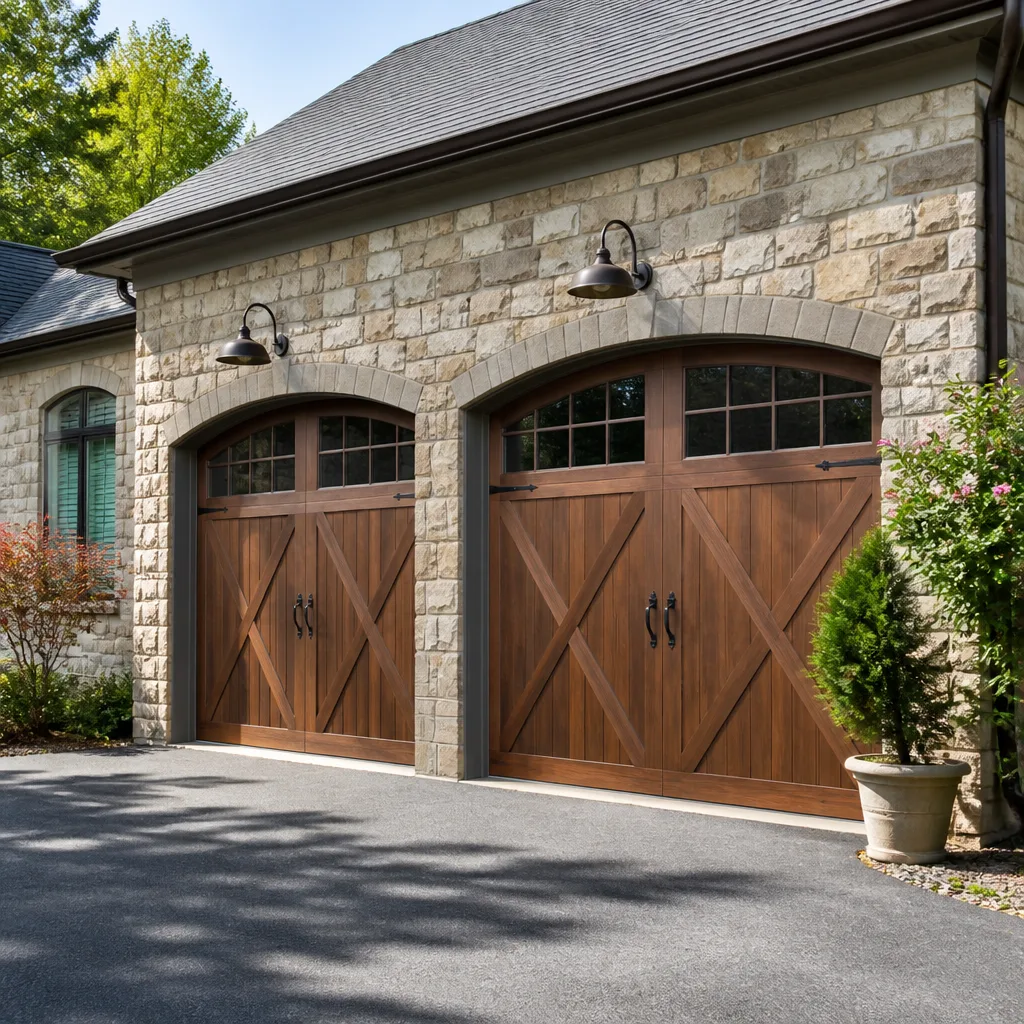 Carriage house
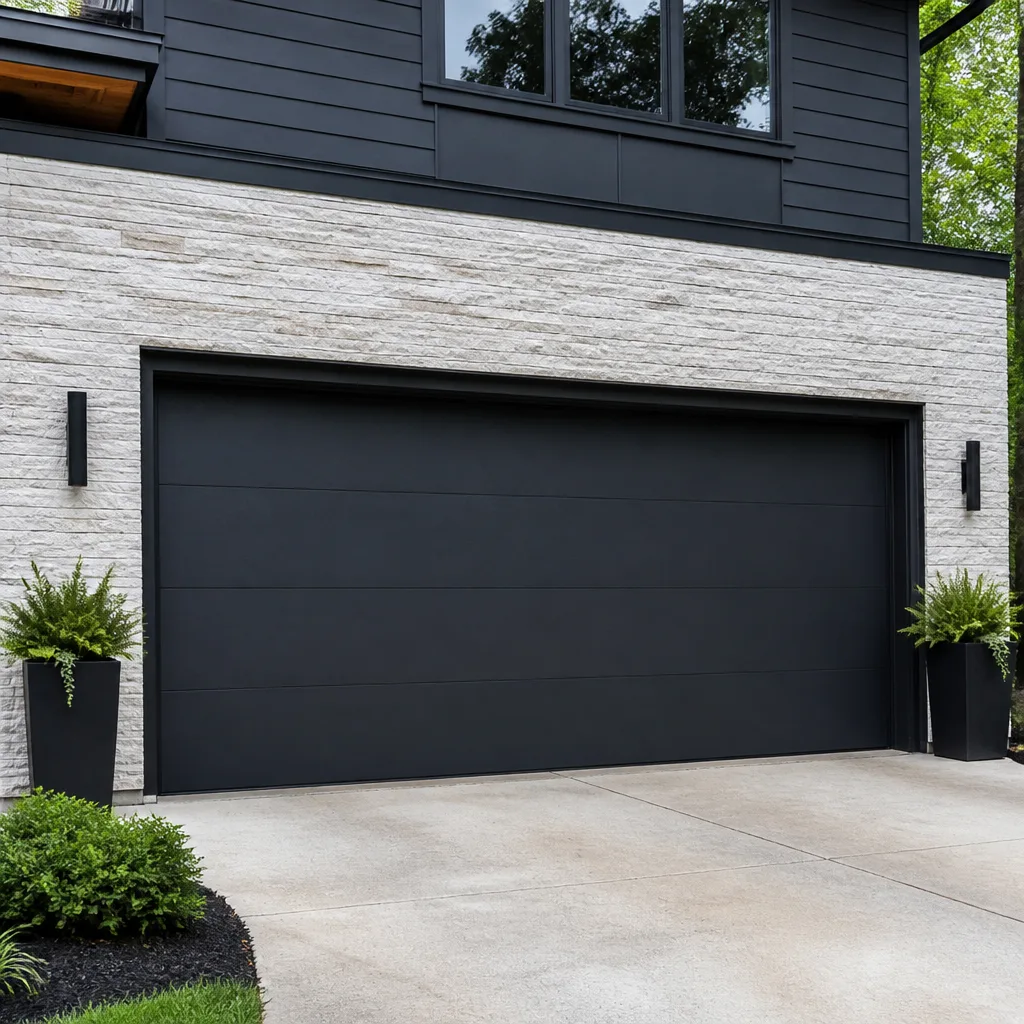 Modern flush
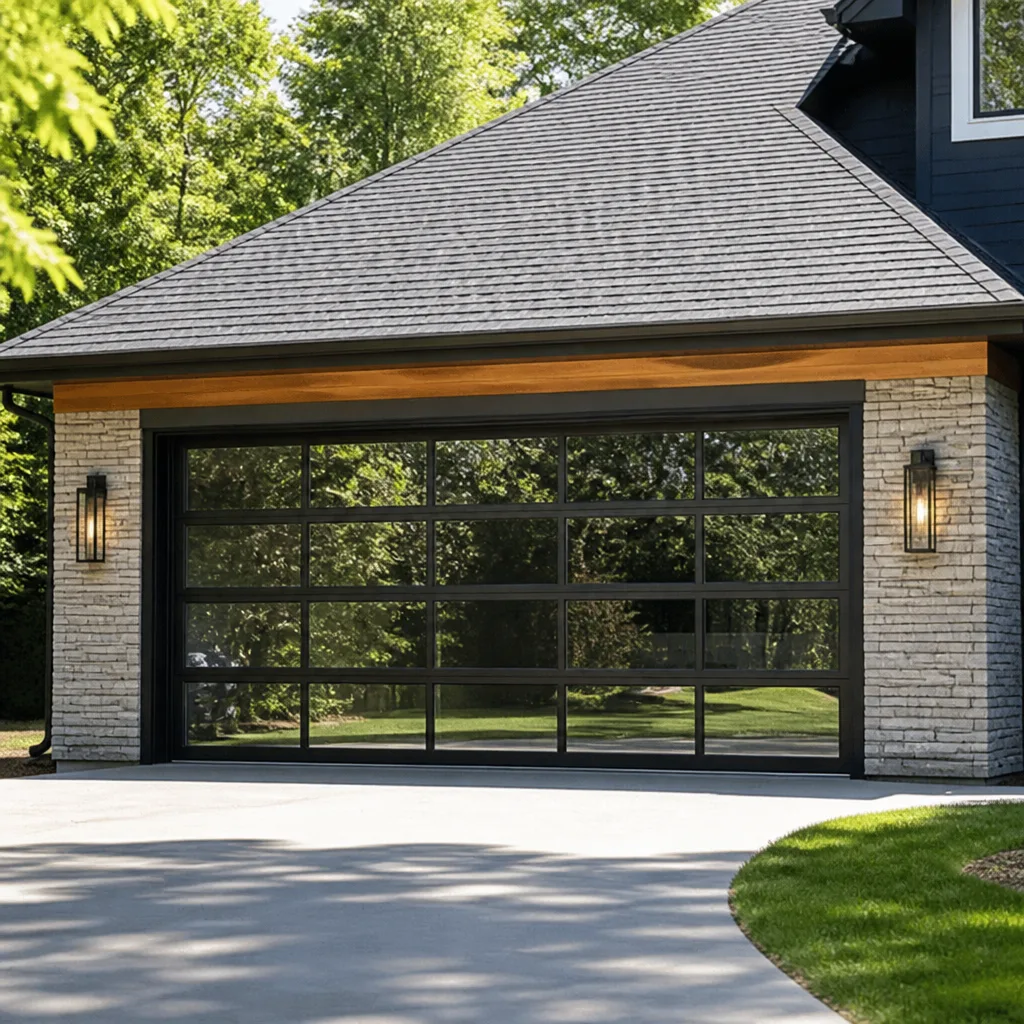 Full-view glass
 LiftMaster openers
 Chamberlain openers
Full 25-point door and opener safety check with every visit - springs, cables, rollers, tracks, and your LiftMaster or Chamberlain opener included
You get a price before we start. It does not change when the truck arrives.
Get your free estimateGarage Door Repair Troubleshooting: Common Problems and How to Fix Them
The average garage door opens and closes roughly 1,500 times a year. Each cycle puts stress on springs, cables, rollers, hinges, and the opener itself. When something fails, homeowners in Hollywood face the same frustration: a door that won’t move, makes an alarming noise, or reverses for no apparent reason. The problem isn’t just the inconvenience. It’s knowing whether you’re dealing with a thirty-dollar roller or a snapped torsion spring that could injure someone if handled wrong. This guide walks through the diagnostic logic our technicians use on every service call in Hollywood, so you understand what’s actually wrong before anyone turns a wrench.
Styles & brands we work with
Quick Answer
Garage door repair troubleshooting starts with isolating the system: mechanical door components (springs, cables, rollers, tracks) versus the opener (motor, logic board, sensors, force settings). Listen first, then look, then measure. Most no-op failures trace to a dead opener capacitor, a broken spring, or misaligned sensors; most partial-operation failures trace to force settings, limit switches, or worn rollers. If the door moves unevenly, produces a loud bang, or has a visibly broken spring or cable, stop and call our Garage Door Repair services, because loaded spring tension and high-tension cables can cause serious injury.
Table of Contents
- Diagnose by What You Hear: The Three Noises That Matter
- Diagnose by What You See: Gaps, Binding, and Opener Lights
- Diagnose by What You Feel: Resistance and Travel Points
- Opener vs. Mechanical Fault: How to Isolate the Failing System
- LiftMaster, Chamberlain, and Genie Opener Error Codes, Translated
- Three Measurements That Narrow the Diagnosis Immediately
- Stop Points: When the Next Step Requires a Professional
- Common Mistakes to Avoid
- When to Call a Professional
- Frequently Asked Questions
- The Bottom Line
Diagnose by What You Hear: The Three Noises That Matter
Sound is the fastest diagnostic tool you have. A trained ear can identify the failing component in under ten seconds, and we’ve made thousands of diagnoses in Hollywood over the phone just by listening to the caller describe the noise. Three sounds account for the overwhelming majority of mechanical garage door failures.
Grinding or metallic scraping almost always points to rollers or hinges. The bearings inside rollers wear out after seven to ten years, especially in coastal humidity like Hollywood’s, where salt air accelerates corrosion on exposed metal parts. When a roller stops spinning and starts sliding along the track, you hear a grinding noise that gets worse as the door reaches the curved section of track. Replacing rollers before they score the track is a fifteen-minute repair. Replacing a scored track is a door-off job. This is one reason our garage door repair service in Hollywood emphasizes catching roller wear early.
A sharp pop or bang followed by the door either slamming down or refusing to move means a spring has snapped. Torsion springs are wound under enormous tension, and when one lets go, the sound is unmistakable, like a gunshot inside the garage. Extension springs fail differently: they stretch, then break at the hook, and the door drops hard on one side. Do not operate the door after a spring failure. Do not attempt to unwind or replace a torsion spring yourself. This is the single most dangerous repair in residential property maintenance.
Squealing or high-pitched chatter during travel usually means dry or worn bearings in the opener’s drive system, or a belt that’s lost tension on a belt-drive unit. Chamberlain and LiftMaster belt-drive openers run quietly when healthy; when a belt glazes or a pulley bearing dries out, the motor strains and the noise is consistent through the full travel cycle. Lubricating the rail with a lithium-based grease sometimes resolves it. If the noise returns within a week, the bearing is failing and needs replacement, not more lubricant.
Diagnose by What You See: Gaps, Binding, and Opener Lights
Visual inspection narrows the diagnosis faster than any other step. Walk the door through its full travel arc and watch for three specific things: gaps, binding, and the behavior of the opener’s lights.
A gap on one side between the door and the floor when closed means one of two things. If the gap is constant, the door was installed slightly out of square or the floor settled. If the gap appears only after years of normal operation, one cable has stretched or a spring has weakened. Cables stretch unevenly when one spring provides more lift than the other, which happens as torsion springs age and lose tension unevenly. Hollywood’s seasonal humidity shifts don’t torque garage door components the way they do interior doors, but temperature swings do affect extension spring performance, and we’ve seen older Wayne Dalton systems with measurable spring sag after five Florida summers.
Binding is visible as a hesitation or jerk during travel, usually accompanied by the door riding slightly inside or outside the track. Watch the gap between the roller stem and the track bracket on each side as the door passes the curved section. If that gap closes on one side, the door is binding because the tracks aren’t parallel or a hinge is seized. A door that binds puts lateral load on the opener, which shortens motor life and trips the opener’s safety reversal. Homeowners in Hollywood with older Raynor or Craftsman systems frequently report this on doors that have gone years without hinge lubrication.
The opener’s overhead light is a diagnostic tool most people ignore. On LiftMaster and Chamberlain units, the light flashes in patterns that correspond to specific fault conditions: four flashes means the safety sensors are misaligned or blocked; five flashes means the motor overheated; one flash with the door stopped mid-travel usually means an obstruction was detected. Before assuming a sensor problem, count the flashes accurately. A misread flash pattern is the most common reason a homeowner in Hollywood replaces working sensors only to discover the real fault was a failing RPM sensor or a worn travel module.
Diagnose by What You Feel: Resistance and Travel Points
Feeling is the third diagnostic layer. With the door disconnected from the opener and operated manually, the resistance you feel at different points in the travel arc tells you where the problem lives.
Pull the red emergency release cord to disconnect the door from the opener carriage. Lift the door manually. A properly balanced door lifts with roughly equal effort through the entire arc and stays in place when you put it at the halfway point. If the door feels heavy at the bottom third of travel, the springs are weakening or one has already snapped. If it feels heavy only at the top third, the cables are likely misaligned on the drum, or one drum has slipped. If you feel a hard stop at one specific point and the door won’t pass it, you have a track obstruction or a hinge that’s seized, not a spring problem.
One test we use on every diagnostic call in Hollywood: raise the door to the halfway point and let go. A properly balanced door drifts down less than six inches and stops. If it slides to the floor, the springs are under-tensioned or broken. If it rises on its own, the springs are over-tensioned, which is just as destructive over time. Do not attempt to adjust torsion spring tension yourself; call a technician.
The feel test also isolates whether the opener is fighting a mechanical problem or failing on its own. If the door moves smoothly by hand but laboringly under opener power, the opener motor, capacitor, or drive gear is failing. If the door fights you by hand too, the problem is mechanical, and the opener is simply the messenger. This distinction determines whether you need garage door opener repair in Hollywood or door hardware work, and it’s the first thing any competent diagnostic should establish.
Opener vs. Mechanical Fault: How to Isolate the Failing System
The single most confused boundary in garage door repair is the line between the opener and the door itself. They’re two separate systems, each with its own failure modes, and conflating them leads to replacing the wrong part.
The opener includes the motor housing, the logic board, the drive mechanism (chain, belt, or screw), the safety sensors, the wall console, and the remote controls. Opener failures typically present as: the motor hums but doesn’t move the door (capacitor or gear failure); the door reverses for no visible reason (force setting or sensor fault); the remote controls stop working while the wall button still functions (logic board or receiver fault); or the opener runs but the door doesn’t move at all (stripped drive gear, especially common on older Genie screw-drive units and Craftsman chain-drive models).
The mechanical door includes the springs, cables, drums, rollers, hinges, tracks, and the door panels themselves. Mechanical failures typically present as: a loud bang during opening or closing (spring failure); uneven movement or a gap at the floor (cable or spring imbalance); grating noise during travel (roller failure); the door binding at a specific point (track misalignment or seized hinge); or visible fraying on a cable, which means it’s hours or days from breaking.
Here’s the isolation sequence we teach every new technician, and it works just as well for a Hollywood homeowner:
- Pull the emergency release cord and run the door manually. Note the resistance and noise.
- If the door is smooth by hand, reconnect it and run it under opener power. Any roughness that appears only under power is opener-related.
- If the door is rough by hand, the problem is mechanical. Fix the mechanical problem before running the opener again, or you’ll burn out the opener’s gear train.
- Check the opener’s error lights or display, if equipped. LiftMaster wall consoles with a screen will display a numeric code; Chamberlain and older Genie units flash the overhead light in a pattern.
- Check the safety sensors last, not first. Misaligned sensors are the most overdiagnosed problem in garage door repair, and checking them first wastes time when the door is clearly binding or grinding.
This sequence matters because garage door openers are engineered to protect themselves. A Genie opener that reverses constantly may simply be doing its job: the force monitor detects mechanical resistance it’s not rated to overcome, and reversing is the safety response. A technician who replaces the opener without fixing the binding door has installed a new motor onto the same failing mechanical system. The opener has a diagnosis, not just a symptom, and reading that diagnosis correctly is where specialist training shows.
LiftMaster, Chamberlain, and Genie Opener Error Codes, Translated
Two of the three biggest opener brands in American garages (LiftMaster and Chamberlain) come from the same manufacturer and share diagnostic logic. The third, Genie, uses a different system. Here’s what the codes mean in plain language, based on the patterns we see routinely on service calls in Hollywood.
LiftMaster and Chamberlain
| Code / Flash Pattern | Meaning | Probable Cause |
|---|---|---|
| 1-1 (up arrow once, down arrow once) | Door won’t travel full distance | Travel limits need reset, or an obstruction is in the door’s path |
| 1-2 | Door reverses after touching floor | Close-force setting too low, or limit switch fault |
| 1-4 | Door reverses before touching floor | Safety sensor misalignment or obstruction |
| 1-5 | Door opens but won’t close | Sensor wiring fault or failed photo eye |
| 3-3 | Motor circuit fault | Logic board failure, requires replacement |
| 4-6 | Overheat protection triggered | Door is binding, motor is overworking, or the opener is operating too frequently |
Genie
| Code / LED Pattern | Meaning | Probable Cause |
|---|---|---|
| One long flash, three short | Door won’t close | Safety sensor obstruction or reversed polarity |
| Two long flashes, one short | Limits not set | Travel limits need reprogramming after a power surge |
| Three long flashes | Door reversal detected | Force setting too low, or mechanical binding |
| One long flash, five short | Motor stall | Broken spring, seized roller, or track obstruction |
Here’s the key insight that most guides miss: a reversal code is the opener reporting a problem, not causing one. When a LiftMaster flashes 1-2 after the door touches the floor and reverses, the fix usually lives in the closing force adjustment or the down-limit setting, not the sensors. When a Genie flashes three long lights, the root cause is frequently a spring that’s lost tension, making the door heavier than the opener’s force ceiling. Replacing the opener on a heavy door solves nothing. The opener was right to reverse.
This is exactly the kind of diagnostic depth that separates a dedicated opener repair from a parts-swap. We service LiftMaster, Chamberlain, and Genie openers daily across Hollywood, and the same twenty-point diagnostic applies whether we’re looking at a fifteen-year-old Craftsman chain-drive or a current-model Raynor system installed last year. Eight brands, one number to call.
Three Measurements That Narrow the Diagnosis Immediately
Beyond listening, seeing, and feeling, three quick measurements tell you more than any amount of Googling, and every one of them is safe for a homeowner to take.
Measurement one: spring gap. On a torsion spring system, look at the gap between the coils on each spring. A healthy torsion spring has a uniform gap between every coil, typically about 1/8 inch. If the gap is wider on one spring than the other, or if the gap is wider at one end than the other, that spring is failing or has already shifted on its cone. Uneven spring gaps produce exactly the kind of door imbalance that wears out opener gears and cables unevenly. On extension springs, measure the overall length of each spring with the door closed. A difference of more than half an inch between the two sides means one spring has stretched permanently and should be replaced as a pair.
Measurement two: cable tension symmetry. With the door closed, grasp each lift cable at the midpoint between the drum and the bottom bracket. Both cables should have roughly equal resistance when you pull them sideways. If one cable is taut and the other has slack, the drum has slipped or the cable has jumped a groove. If one cable shows visible fraying, the system is compromised and the cable will fail soon. Frayed cables on any system, but especially on older Wayne Dalton and Amarr doors with bottom-mounted brackets, are a clear stop point: do not operate the door, and do not try to re-seat a cable on a live drum yourself.
Measurement three: track plumb. Place a level against the vertical section of each track. Both tracks should read plumb (within about 1/4 inch top to bottom). If one track leans in or out relative to the other, the door will bind as it enters the horizontal section. Track misalignment in Hollywood garages is frequently the result of a lawn mower or bike hitting the track base, or the track brackets loosening from the wall over years of vibration. Small misalignments are fixable with bracket adjustment; large ones require re-hanging the door, which is a professional job.
These three measurements, taken together, identify roughly 80% of mechanical garage door failures. You don’t need a torque wrench or a multi-meter to take them. You need a level, your eyes, and two minutes when the door is closed. The rest is interpretation, and interpretation is where experience earns its keep.
Stop Points: When the Next Step Requires a Professional
Some troubleshooting steps end at your knowledge boundary. Others end at a genuine safety boundary. Knowing the difference is part of being a responsible homeowner in Hollywood, and it’s part of being a responsible technician too.
The absolute stop points are these:
- Any broken torsion spring or extension spring. Torsion springs are wound to hold hundreds of pounds of force. A spring that snaps while being adjusted can kill or maim. Extension springs store energy in stretching and recoil violently when they fail. Neither is a DIY repair under any circumstances.
- Any frayed cable or a cable that has jumped off the drum. Cables on a torsion system run through the spring’s load path. Re-seating a cable without de-tensioning the spring first puts you in the direct line of the spring’s force.
- Any diagnostic that requires you to touch live wiring, open a motor housing, or test a capacitor. Garage door openers run on 120-volt household current. A capacitor holds charge even after the opener is unplugged. The opener’s diagnosis belongs to someone who works on opener electronics professionally.
- Any repair that requires removing the bottom bracket. The bottom bracket anchors the lift cables and bears the full weight of the door when it’s under tension. Removing it without properly supporting the door and de-tensioning the springs is how doors fall on people.
Beyond these hard stops, there are soft stops: repairs you could technically attempt but where the cost of a mistake exceeds the cost of a service call. Replacing a full panel on a Clopay or Amarr sectional door means matching the paint, the cut, and the hinge placement perfectly. Getting it wrong leaks air, voids the door’s balance, and creates a binding point. This is the kind of repair where a homeowner in Hollywood can spend three weekends and four hardware store trips only to call a professional anyway. See How to Hire a Garage Door Contractor in Hollywood: A Step-by-Step Guide to avoid that outcome.
Common Mistakes to Avoid
- Cleaning the sensors first, always. Misaligned or dirty sensors cause some reversing problems, but they are the most overdiagnosed component in garage door repair. Before wiping lenses, check the reversal point. If the door reverses after touching the floor, the close-force or limit setting is the problem, not the sensors.
- Re-lubricating a failing roller. A grinding roller with a seized bearing doesn’t need lubrication. It needs replacement. Lubricant on a seized bearing just distributes metal shavings along the track and accelerates track wear.
- Adjusting torsion spring tension without a winding bar. Never insert a screwdriver or rod into a spring cone and turn it. Improvised tools slip and release stored spring force without warning. This is how emergency room visits happen.
- Ignoring a reversal problem. A door that reverses occasionally “for no reason” is reporting a fault that will get worse. Running the opener on a binding door shortens the gear train’s life and can burn out the motor. The fix gets more expensive the longer it waits.
- Replacing the opener when the door is the problem. In Hollywood, we regularly see openers replaced by a homeowner or an inexperienced handyman only to have the new unit fail within months because the original mechanical fault was never addressed. The opener was doing its job and got executed for it.
- Mixing old and new springs. Springs must be replaced in matched pairs. A new spring paired with an old, fatigued spring creates an imbalance from day one and shortens the new spring’s life substantially.
When to Call a Professional
Call a professional when the diagnostic path hits any of the stop points above, or when you’ve spent more than an hour troubleshooting without a clear answer. A specialist service call costs less than a wrong part plus the time to install it plus the frustration of discovering the problem still exists. In Hollywood, salt air and humidity create failure patterns that a general handyman from inland Florida may not recognize, and the difference between a corroded roller bearing and a failing opener gear isn’t always obvious to a casual observer. Bright Star Garage Door Repair offers free estimates in Hollywood – call (833) 589-8106 and you’ll get a straight answer about what’s actually wrong.
Frequently Asked Questions
Garage door repair in Hollywood typically runs between $125 and $425 depending on the component. Roller replacement on a double door usually lands in the $145 to $225 range, a new torsion spring pair averages $275 to $400 installed, and opener gear or capacitor replacement typically runs $150 to $275. These are Hollywood, Florida market ranges; coastal corrosion and the prevalence of insulated doors push some jobs higher than national averages. Call (833) 589-8106 for a free estimate, with the price quoted and agreed before any work starts.
Emergency repairs for broken springs, failed openers, and doors stuck open are typically available same day from most established Hollywood garage door companies, including ours at Bright Star Garage Door Repair. We stock common LiftMaster, Chamberlain, Genie, Clopay, Amarr, Wayne Dalton, Craftsman, and Raynor parts on our trucks, which makes same-day completion realistic for most mechanical failures. Call early in the day for the best chance of a same-day visit.
A door that reverses immediately after touching the floor is almost never a sensor problem. The close-force setting is too low and the opener interprets the floor contact as an obstruction, or the down-limit switch is set too far. Adjusting the close force up slightly or resetting the down limit usually resolves it. This is a five-minute fix for a technician who knows the opener model.
LiftMaster and Chamberlain dominate the Hollywood market for a reason: their DC motor designs and belt drives hold up well in humid coastal conditions. Genie screw-drive openers are still common on older homes but require more frequent lubrication in salt air. The most reliable opener is the one correctly matched to a balanced door. A properly balanced door extends any opener’s service life by years.
A well-stocked garage door specialist stocks common springs, cables, rollers, hinges, brackets, opener gears, capacitors, sensors, and remotes on every truck. Since we service eight major garage door and opener brands across Hollywood, our trucks carry cross-compatible parts for most of the systems we encounter. One company, start to finish, whether the call is repair, opener replacement, or full garage door installation in Hollywood.
No. We quote the repair price before any work begins, and that’s the price you pay unless you approve additional work in writing. We don’t do surprise invoices. If we discover an additional problem during the repair, we stop, explain what we found, and get your approval before touching it. Call (833) 589-8106 for a free estimate with upfront pricing.
The Bottom Line
Garage door troubleshooting is a diagnostic discipline, not a parts-swapping exercise. The sequence matters: listen, then look, then measure, and isolate the opener from the door before concluding anything. Most reversing issues are force settings or limits, most grinding is rollers, and most bangs are springs. The stop points are real, and respecting them keeps you safe. Before you replace a part, know whether you’re treating the cause or the symptom. When the diagnosis exceeds your comfort level or hits a safety stop, you know what to do. Explore more guides & resources for additional troubleshooting help. We’re the team that services your brand, whether it’s a Wayne Dalton door, a Raynor door, or a LiftMaster, Chamberlain, Genie, or Craftsman opener. Eight brands, one number to call.
Written by the team at Bright Star Garage Door Repair, serving Hollywood since 2012.
See the difference
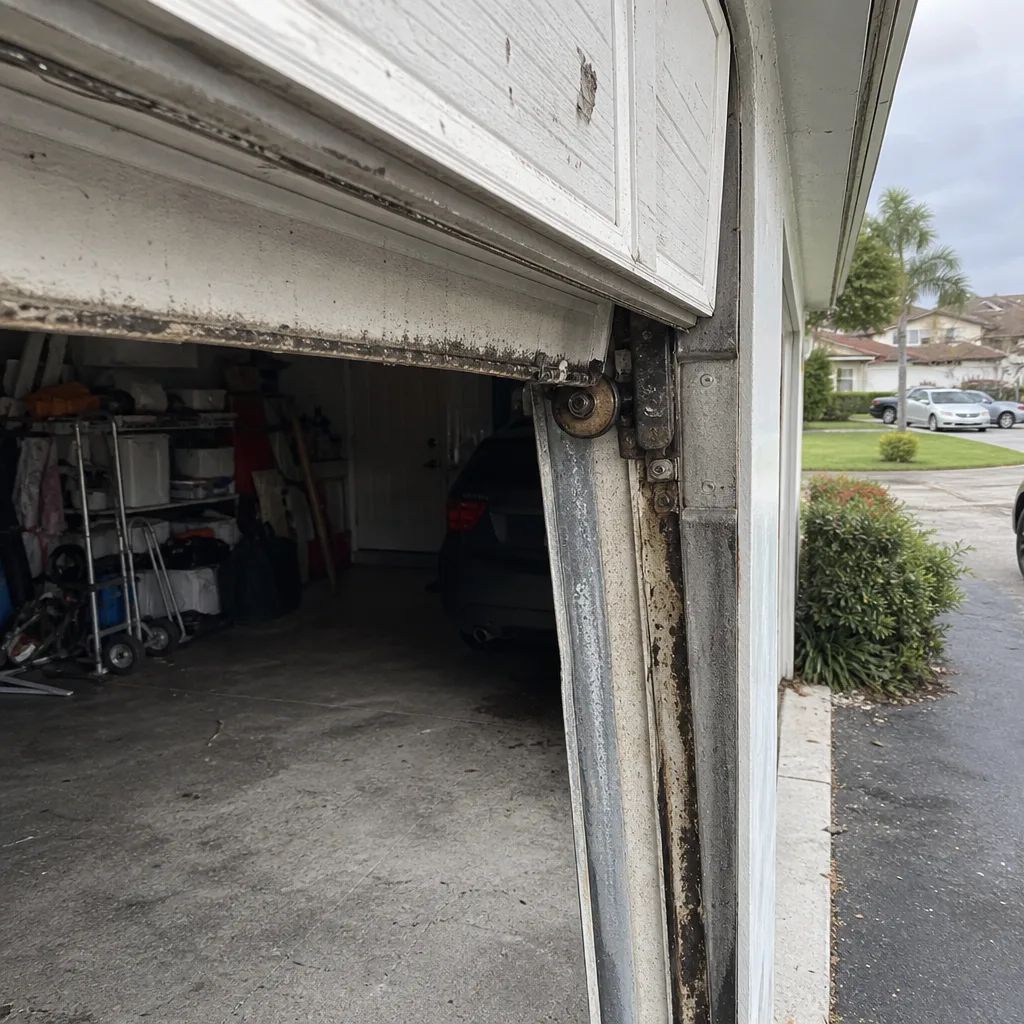 Before
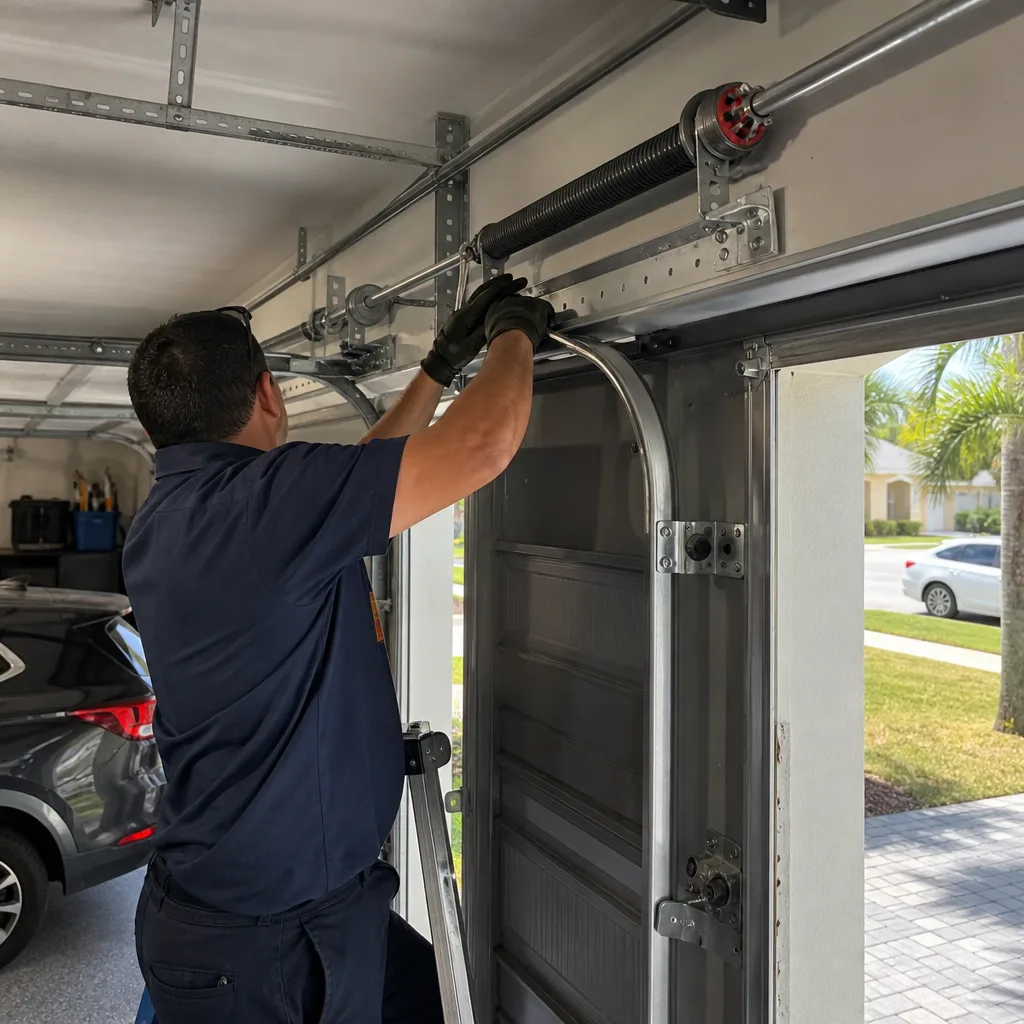 After
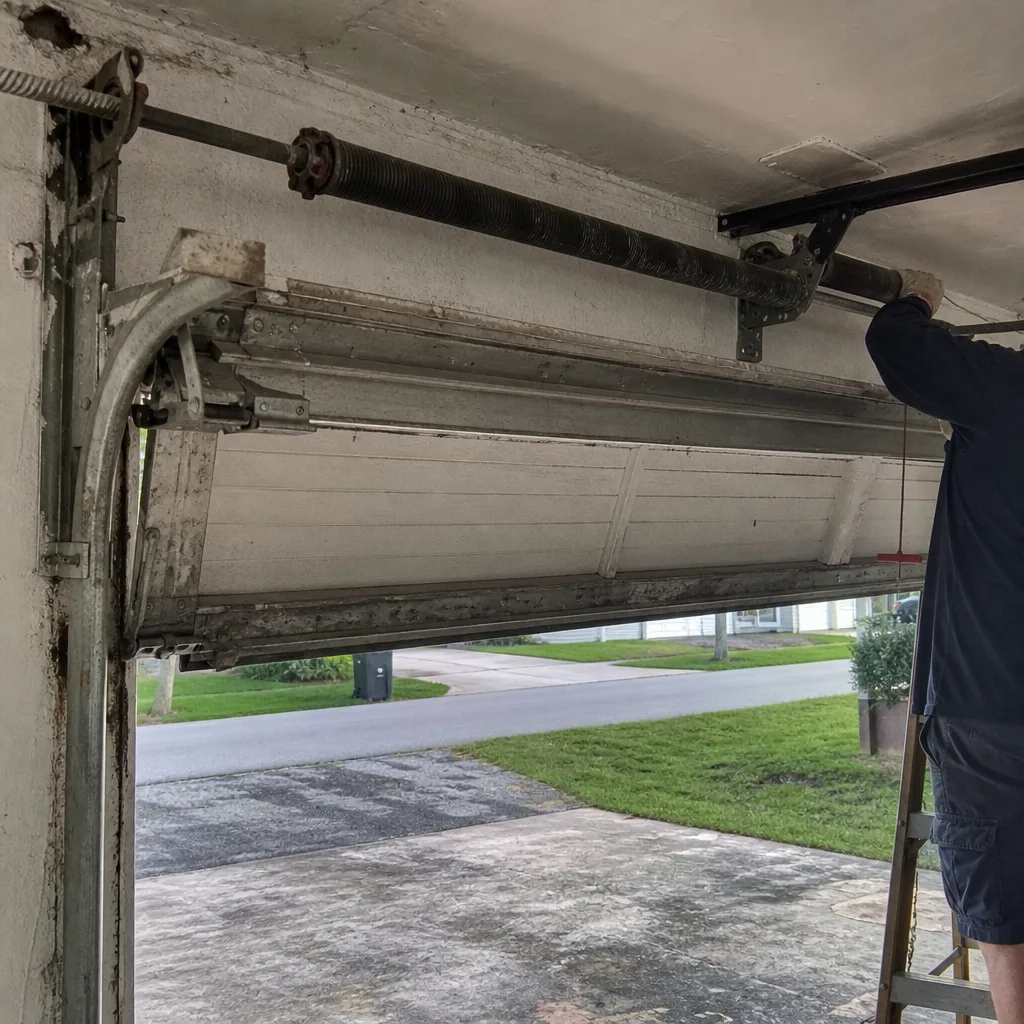 Before
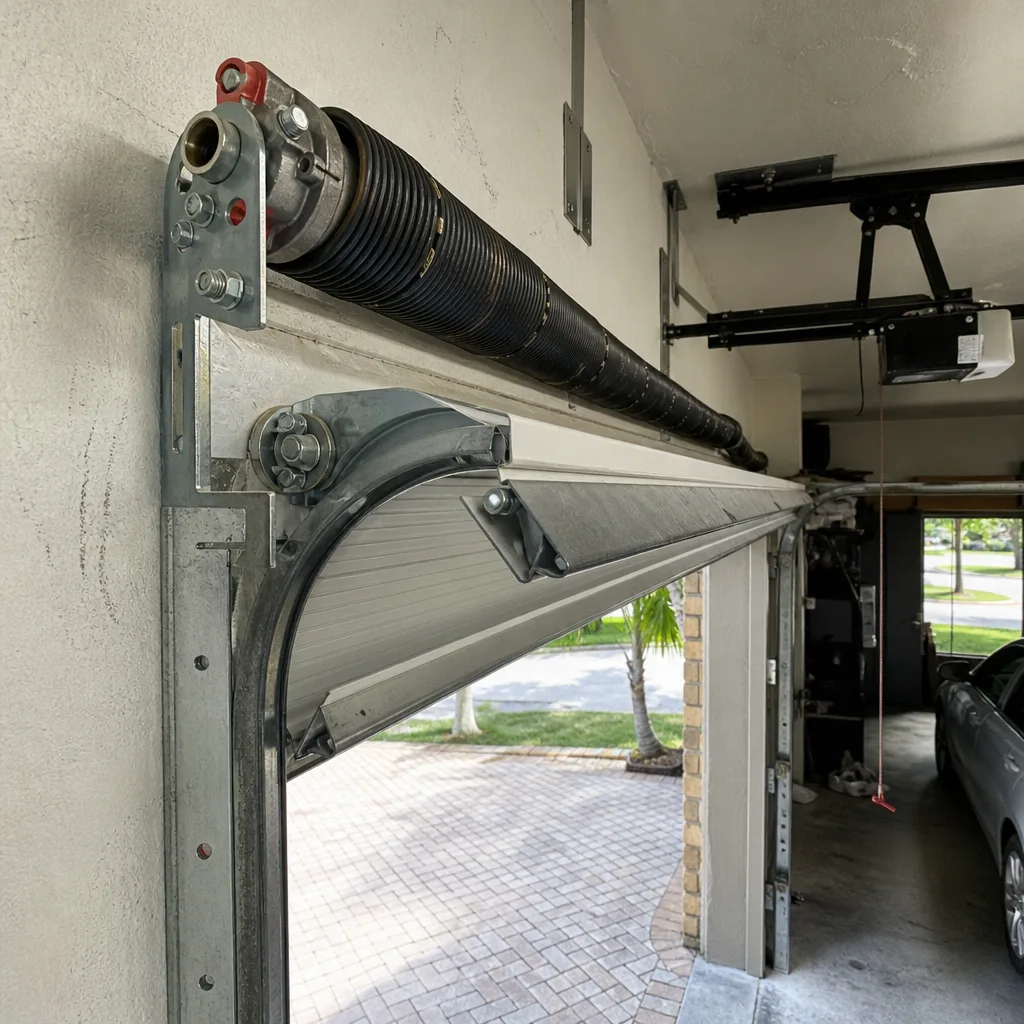 After
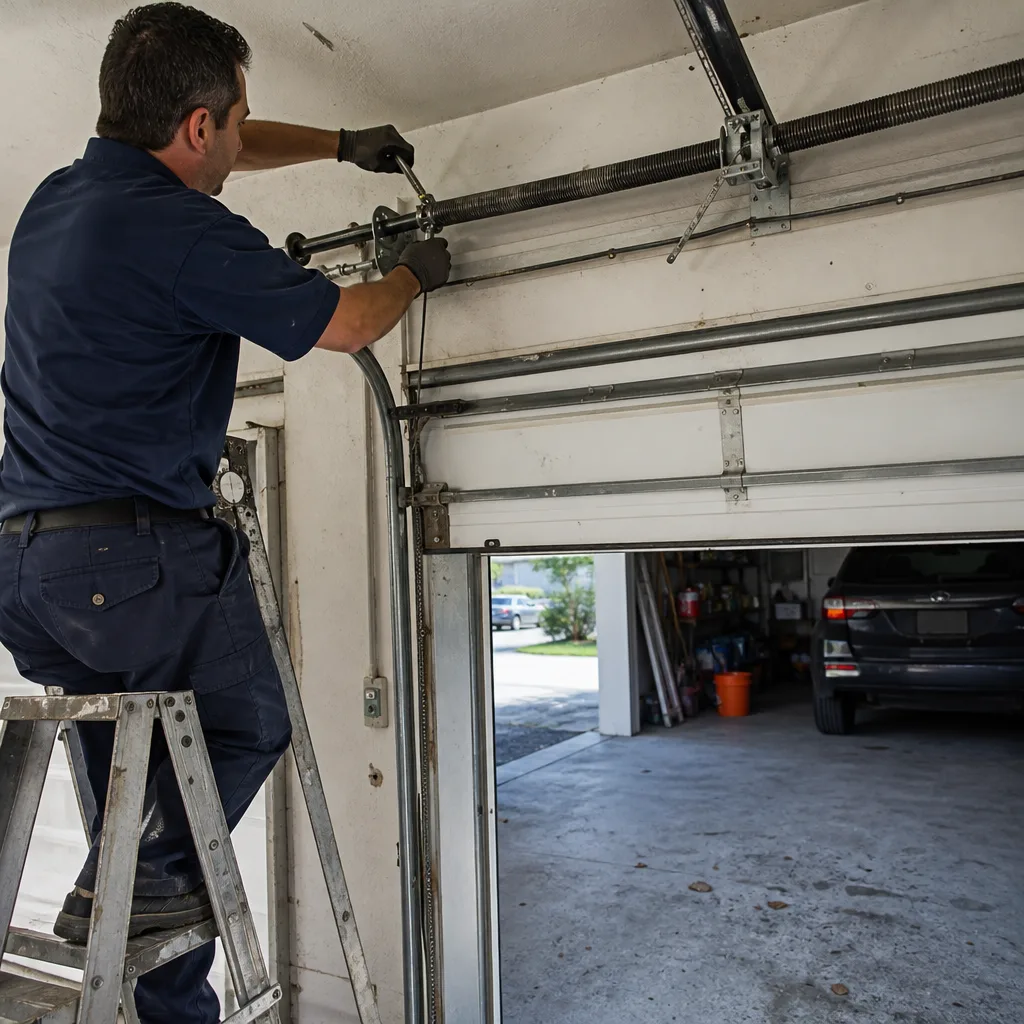 Before
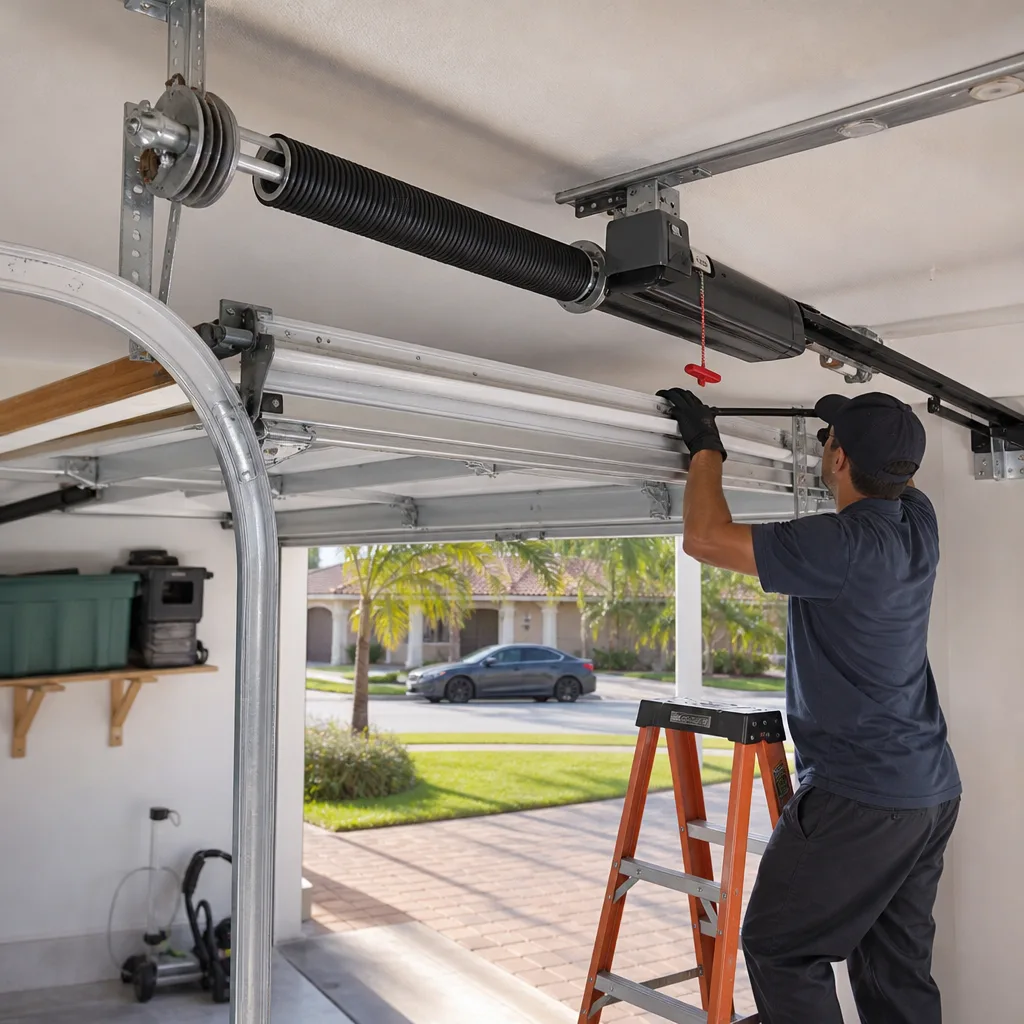 After